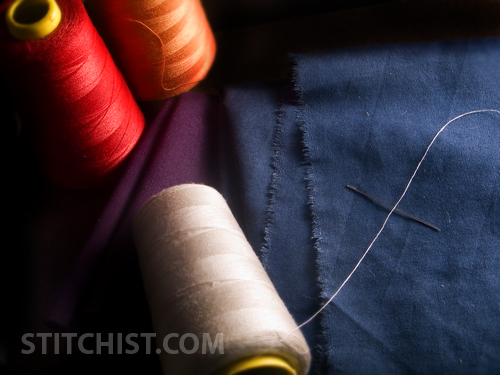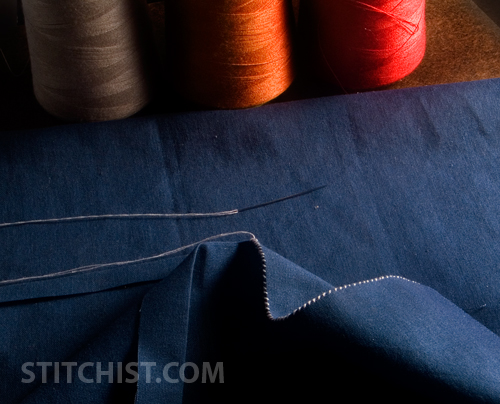
The Sew and Fell stitch is one of the more durable hand stitches you will find. It also has a clean finish. This is a practice example done with scraps from very worn, recycled sheets.


To Do:
1. Press seam ends towards the wrong side of fabric (Diag. 9 and Diag. 10). If you want to be authentic, thumb press. I used the iron.
2. Be sure that one end is twice the width as the other. (1/4 inch and 1/2 inch is good but you can go wider)

3. Place wrong sides of fabric together, with seams touching (Diag 11).
NOTE: Diag. 11 shows basting, which is always good to do. I didn’t.
4. Whip stitch along top. keep stitches as uniform as possible.
1. Fold wider seam over the narrow as you would a flat felled seam (Diag 12).
2. Whip stitch on wrong side of fabric. Keep the stitches small and uniform as they will show on the other side.

This is the final stitch without the inside whip stitch.
Here’s a great YouTube video of the process:
(Illustrations are taken from Educational Needlecraft. You can read it online HERE)
You can also download it free at Archive.org
WORD OF CAUTION: Don’t be alarmed when you read that this stitch is recommended for 8 and 9 year olds. Just be humbled. I was. If it helps any, the book was published in 1911.
